There is a whole range of different canvases on offer, but viewing the options may seem slightly overwhelming. Cotton, linen, stretched, gesso, what do all of these words mean? What does it mean for how you can paint on canvas?
Types of Artist Canvas
The material and type of canvas can affect what to paint on a canvas and the way you prime your canvas, if at all. The most popular types of canvas are:
- Cotton Canvas
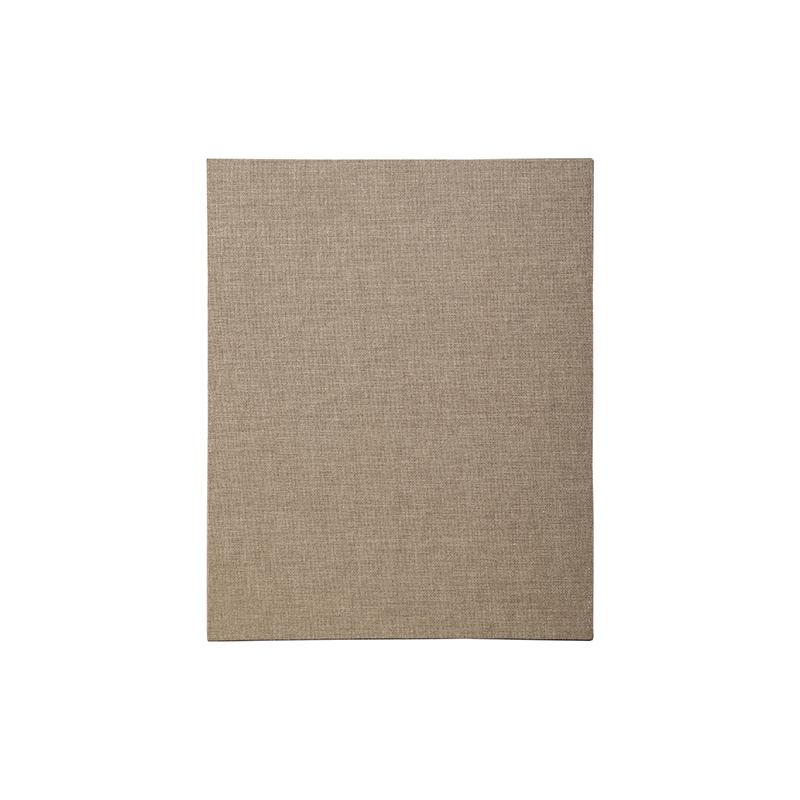
- Linen Canvas
- Canvas Board
Cotton canvases are ideal for a wide range of artist purposes, particularly if you are choosing to paint with acrylic or oil paints. Linen is more expensive, and not recommended for your first canvas, mostly due to the cost. Linen doesn’t need as much painting and provides a slightly more randomised canvas base, though it doesn’t offer much more unless you are a professional going for a specific effect. Watercolour is best done on canvas board or watercolour paper.
Once the material of the canvas is chosen, you then have to choose whether you want it pre-stretched or not. Having it pre-stretched does increase the price but makes it much easier to start painting. You can stretch it yourself, but that’s another step between you and painting!
How to Start Painting on a Canvas
Learning how to prime a canvas is a crucial skill for artists. It will provide the ideal canvas base for your art. Both cotton and linen canvases can be primed with acrylic gesso or oil. It is essential to seal the canvas. If not, paint could leak into the canvas (wasting your valuable materials) and could rot it as well. Oil is more slippery (it is oil) and cannot be used as the primer for acrylic painting. Acrylic has slightly more friction and can be used as a base for all paint types.
Learning how to prime a canvas is a crucial skill for artists. It will provide the ideal canvas base for your art. Discover our top tips here.
The gesso is the first layer, then a tone layer is often advised. This is a light wash that sets the tone for the rest of the painting. Even if you paint fully opaque above it, some of the warmth (or coolness, if you go a bluer wash) will bleed through and affect the atmosphere.
The next layer is still preparation and is known as an underpainting. This is when a neutral colour (often burnt sienna) is mixed with a solvent (an odourless mineral spirit for oil paints or water for acrylic and watercolour) and allows you to sketch the basic shape for the subject. If you use a contrasting colour to the background wash or the subject colour, it provides greater depth to the painting, though you will have to be more careful with it.
Once you’ve primed your canvas base, now you can start painting! This is when experimentation and practise come in really handy. The other steps do a lot of subtle things and remember that the supplies never mean as much as the good painting technique and practise that you use.
There are certain considerations that you will need to take in when it comes to positioning your canvas. For example, what size is the canvas? What angle do you want the canvas, do you need an easel? What workspace best suits you? With water jars, you could use one for lighter colours and one for darker, or one for clean brushes and one for darker brushes.
What’s the Best Paint for Canvas?
There is no one answer to this question. Experiment with different paints, as different paint mediums react differently in different conditions. For example, acrylics go darker and watercolour goes lighter when dry. When acrylic painting on canvas, you can layer the acrylic to create a textured effect.
You can also manipulate the textures and results of your paint by mixing your paint with different mediums. Mediums can affect gloss, drying time, thickness and more, making all the paints incredibly flexible. Test the mediums that you use as well; such as, linseed oil or turpentine for oil paints.
Tips for painting on canvas
Another tip when painting on a canvas is to use the ‘thick over thin, or heavy over lean’ principle. This principle of using thinner layers of paint under heavy layers is necessary if you want a seamless foundation to paint on. If you go the other way around, the thicker layers underneath may peel and crack the top layers.
For the first few layers, focus on the highlights and the shadows to block out the values of your subject, then use the neutral base colour ontop and continue building the layers. This way you create a more 3D effect and better tonal values.
The final layers should be focused on detail and the final sections of shadow and highlight for further dimension. Then, a final painting on canvas!
If you want more tutorials on brushes, paints, mediums and more, check out the rest of our blog.
< Back to blog